Making normal maps for your decals
Posted: Sat Apr 20, 2013 12:33 pm
have seen a few people wondering how to do this. this is also how to make it so your track has terrain shaders.
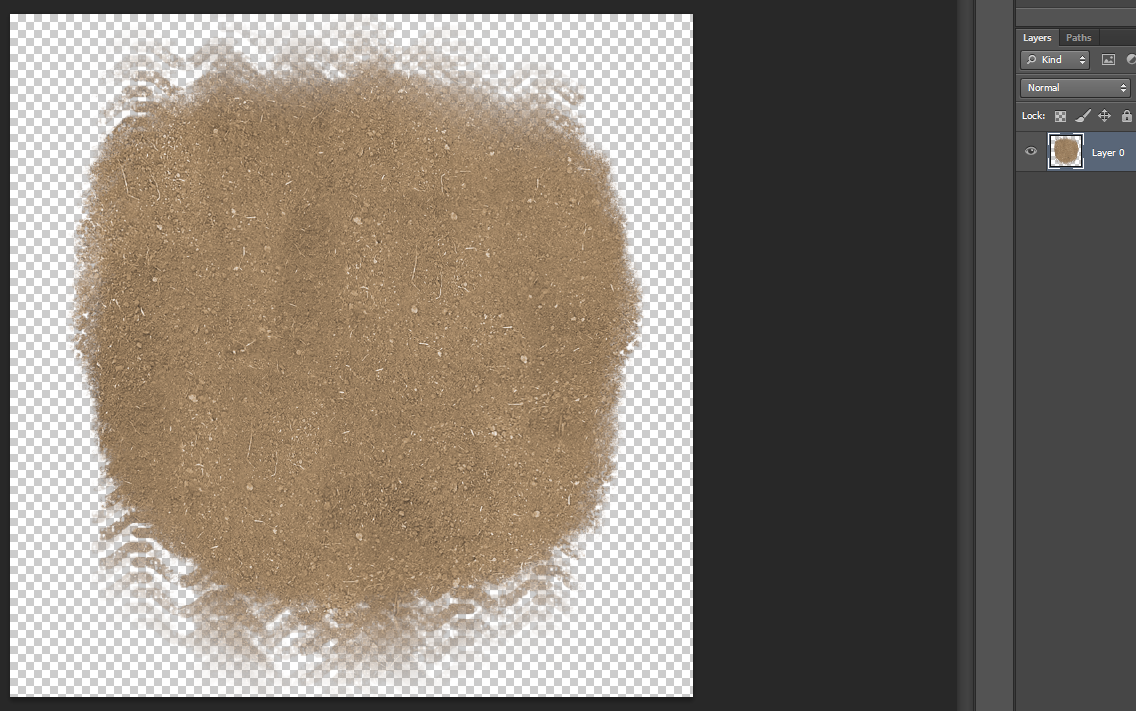
step 1: open your decal in photoshop not to sure about other programs. gimp i think works abit like this
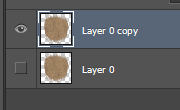
step 2: duplicate the layer (your decal)
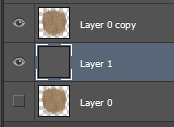
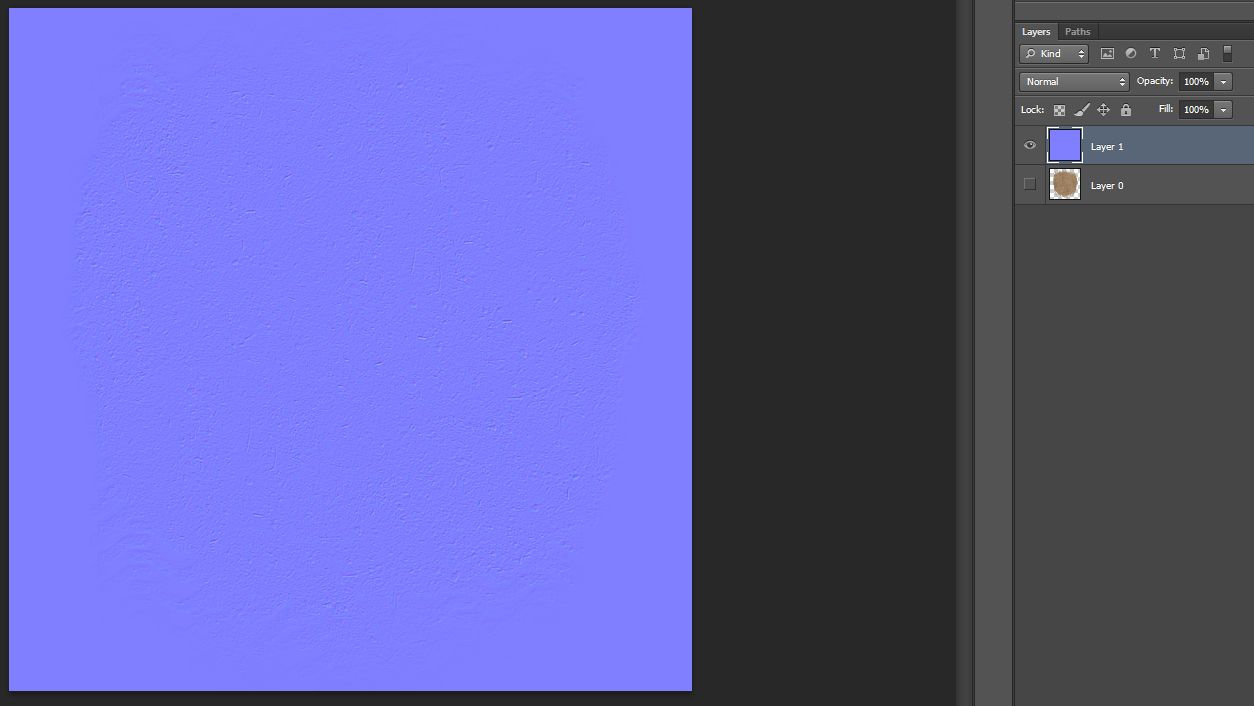
Step 3: now make a new layer and put the layer in the middle of the two decals
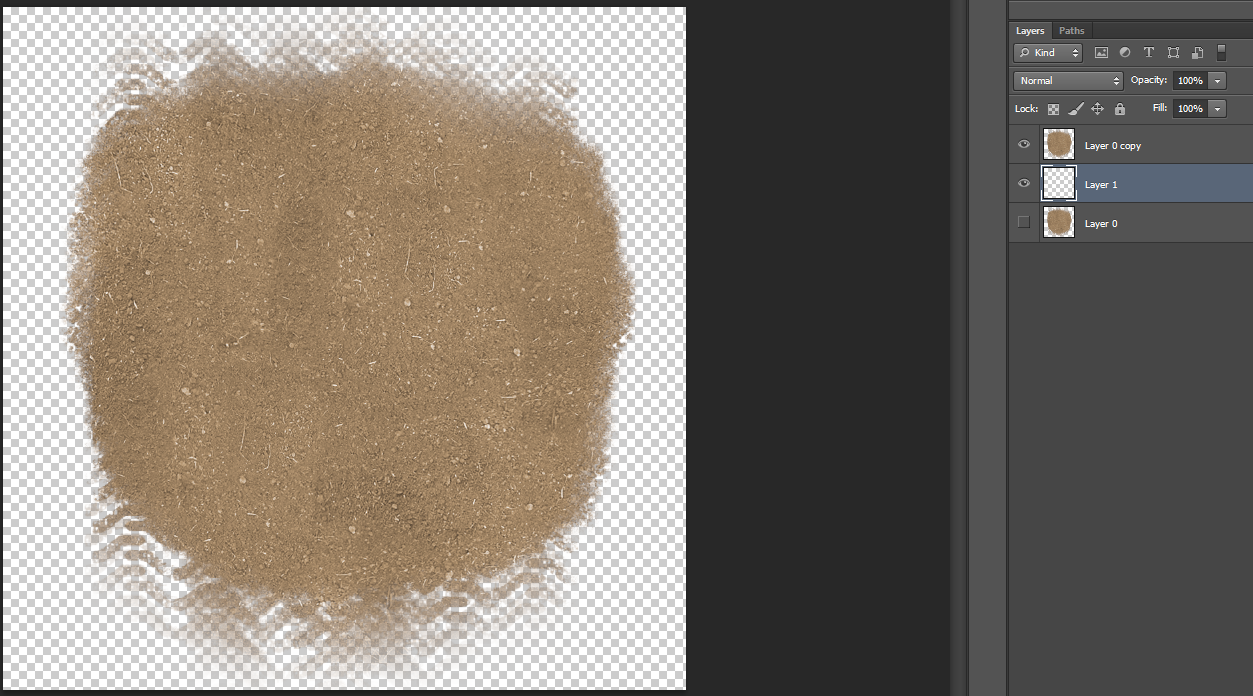
your layers should look something like this
Step 4: paint the blank layer entirely a grey colour
Step 5: Select your decal and press ctrl+shift+u and your decal will turn a shade of grey
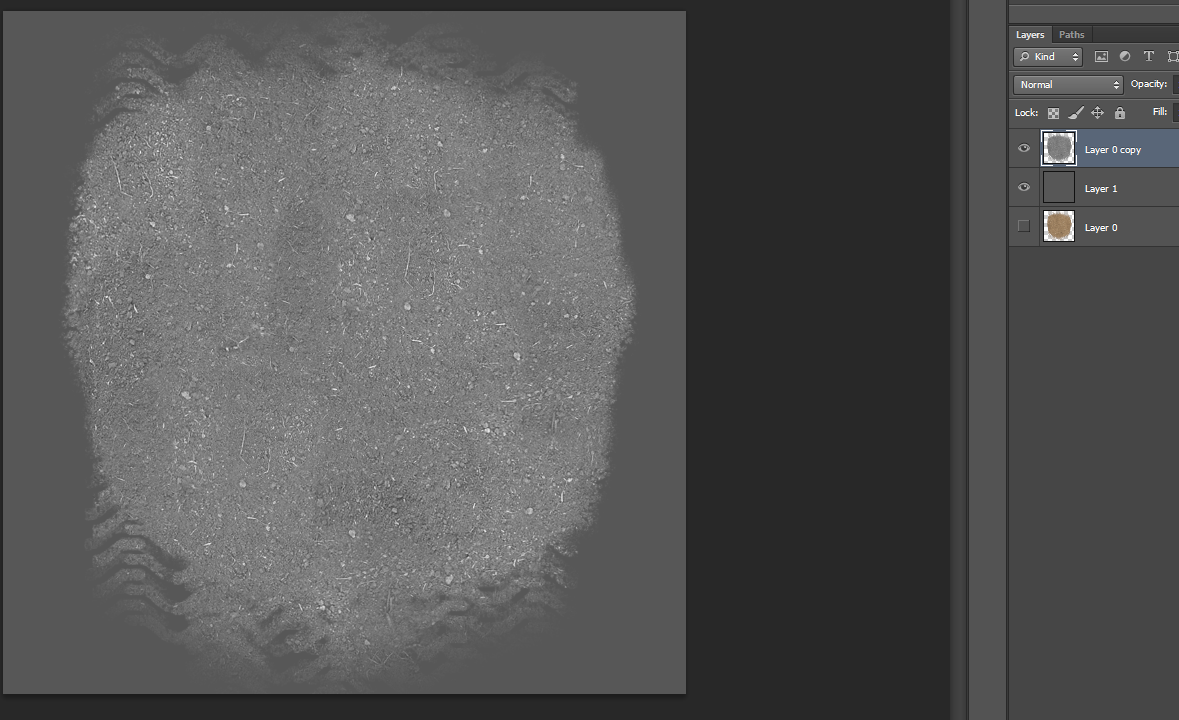
step 6: merge the now grey decal with the solid grey layer
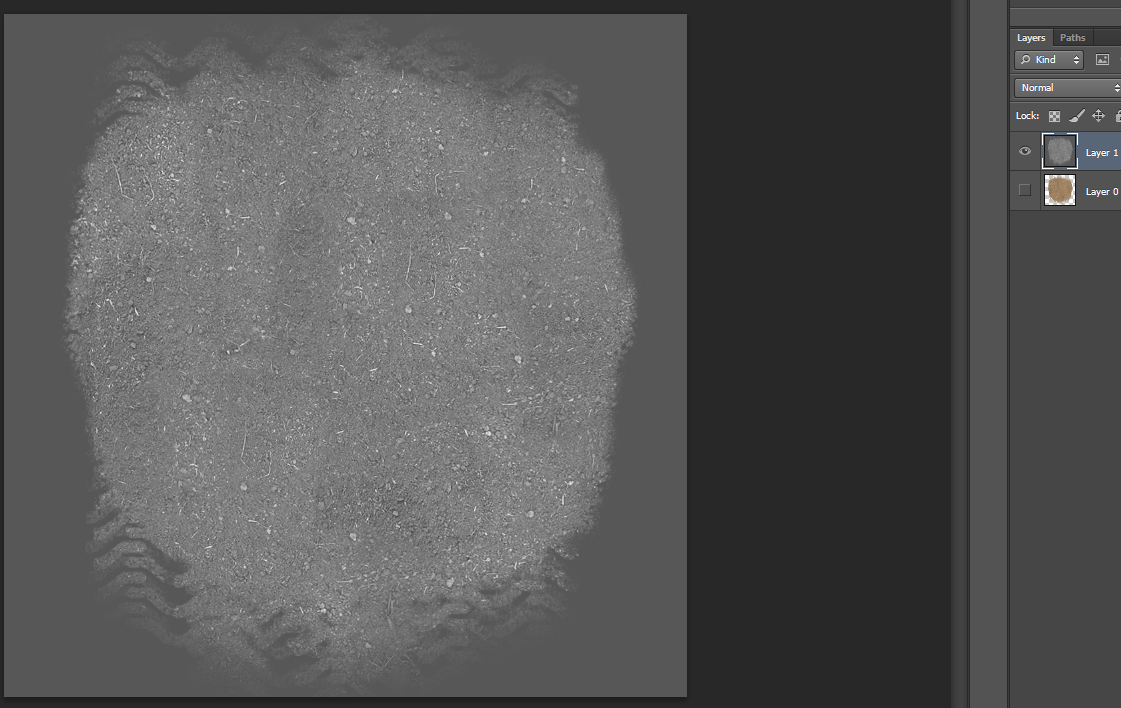
this will be the result
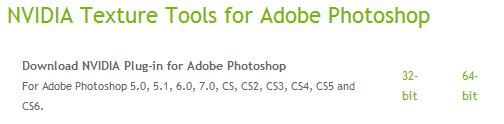
step 7: apply this normal filter to the layer (the normal filter can be downloaded here: https://developer.nvidia.com/nvidia-tex ... -photoshop , to get to this filter you go filter > NVIDIA tools > NormalMapFilter)
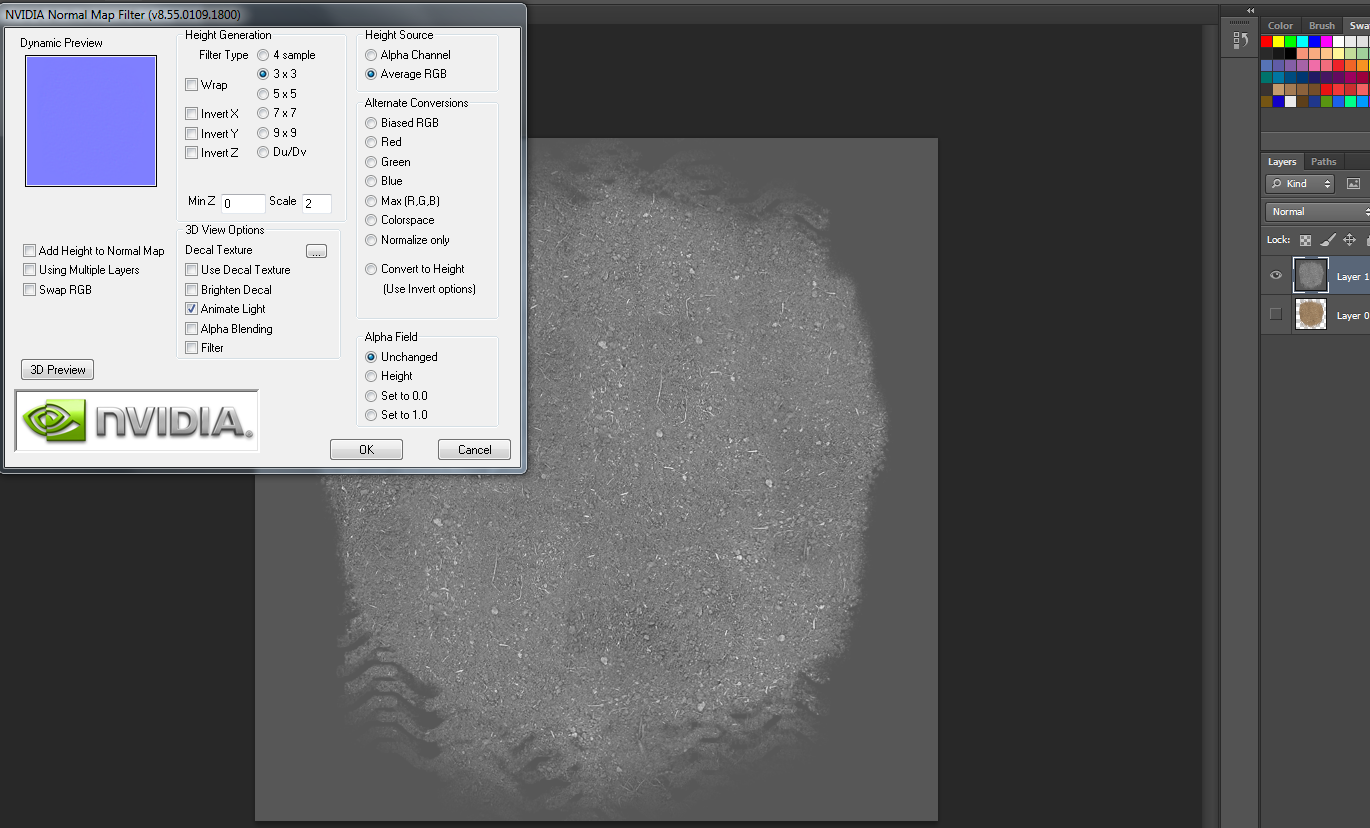
up will come a new tab change your setting to this
Step 8: Now press OK
Step 9: to make the normal map more intense, duplicate the norm and go to were it say normal click so the drop down bar goes down a select overlay so that it makes on of the norms and overlay (you will know as the norm map will suddenly get much more intense) continue this till you are happy with the out come.

where you go to change it to normal
before the overlay
after
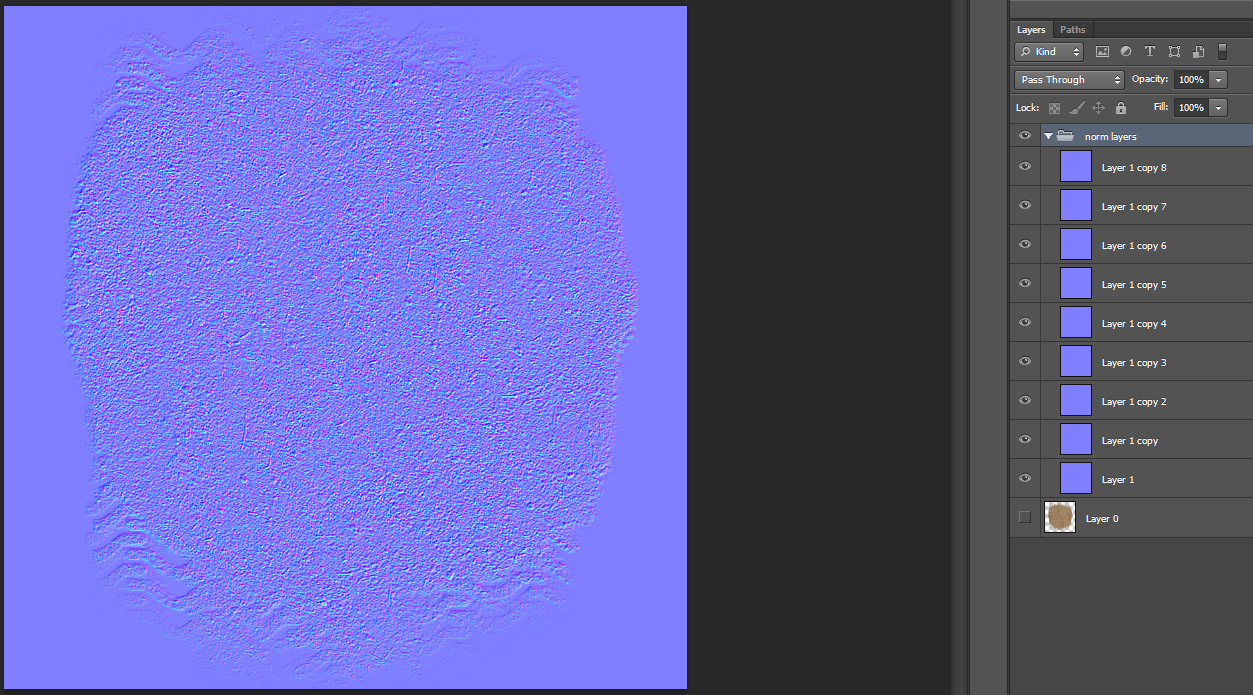
(you dont have to make it this intense or you can make it more intense, this was just for tutorial sake)
Step 10: Save it in the same place as the decal you are using for your track but name it "decal name"_tnorm
another thing that will needed to be changed is your lighting file. 'dynamic_lighting 1' will need to be added to the end of your lighting file for oyur norms to work.
i hope this helps someone, this works for me may not be how others do it but it works. you can comment if you think something may improve the norm.
also a big part of having a awessome decal is the spec. but that is for another day and time.
step 1: open your decal in photoshop not to sure about other programs. gimp i think works abit like this
step 2: duplicate the layer (your decal)
Step 3: now make a new layer and put the layer in the middle of the two decals
your layers should look something like this
Step 4: paint the blank layer entirely a grey colour
Step 5: Select your decal and press ctrl+shift+u and your decal will turn a shade of grey
step 6: merge the now grey decal with the solid grey layer
this will be the result
step 7: apply this normal filter to the layer (the normal filter can be downloaded here: https://developer.nvidia.com/nvidia-tex ... -photoshop , to get to this filter you go filter > NVIDIA tools > NormalMapFilter)
up will come a new tab change your setting to this
Step 8: Now press OK
Step 9: to make the normal map more intense, duplicate the norm and go to were it say normal click so the drop down bar goes down a select overlay so that it makes on of the norms and overlay (you will know as the norm map will suddenly get much more intense) continue this till you are happy with the out come.
where you go to change it to normal
before the overlay
after
(you dont have to make it this intense or you can make it more intense, this was just for tutorial sake)
Step 10: Save it in the same place as the decal you are using for your track but name it "decal name"_tnorm
another thing that will needed to be changed is your lighting file. 'dynamic_lighting 1' will need to be added to the end of your lighting file for oyur norms to work.
i hope this helps someone, this works for me may not be how others do it but it works. you can comment if you think something may improve the norm.
also a big part of having a awessome decal is the spec. but that is for another day and time.