Upcoming Tracks and Track Objects #2
-
mxsrider96
- Posts: 3603
- Joined: Mon Sep 10, 2012 12:15 am
- Team: PoGo
- Location: Indiana
Re: Upcoming Tracks and Track Objects #2
Those look like 2011 national replica structures, I think. I may very easily be wrong though
WAR CRY <3
Sun Burn
-
137
- Posts: 2659
- Joined: Wed Jun 24, 2009 1:31 am
- Team: LCQ Studios / rF
Re: Upcoming Tracks and Track Objects #2
Hybridmxsrider96 wrote:Kyle, I can't tell. Is that compound or a hybrid track?
If you enjoy what I make, donate to the cause  It's very much appreciated!!

-
barrington314
- Posts: 6614
- Joined: Fri Feb 18, 2011 6:03 pm
- Team: me
- Location: Charleston, SC
Re: Upcoming Tracks and Track Objects #2
I do it with nationals too. But anyways, its pretty easy. Take your scale multiplied by your resolution - 1. so lets say your terrain.hf readsmxsrider96 wrote:Has anyone made a tutorial about how to put a track map on an ortho, like Barrington does with SX? I'd like to be able to put my track drawings down to try it (assuming it's easy)
Code: Select all
10 0.312500 0.000000 10.0000009 = 1025
10 = 2049
11= 4097
The second number is the scale.
The math in this case would be 0.3125 x (2049 - 1) = 640 for decal scale.
Next you need the location of the decal. Thats whats in brackets in the decal file.
The math is decal scale divided by 2. In this case 640/2 = 320
Here is what your decal line would look like.
Code: Select all
[320.000000 320.000000] 0.000000 640.000000 1.000000 @barringtonsexample/decalfiles/overlay.pngNow go in game and measure something with a gradient that you know the length of.
For supercross I did things a little different than I do for nationals when making the length correct. You can just adjust the decal scale (640) and then divide by 2 again to get the center location again, until you get the correct length that you need. I do this because I want the overall terrain size to stay the same.
For nationals, I dont really have an explanation why, But I would adjust the terrain scale and then redo my decal scale and location to get to the length I need something to measure in game.
This last bit might be slightly confusing. But I promise if you just try, its not that bad to figure out. Sorry I'm drawing a blank to give you examples right now. Every case is going to be different. You could measure too big or too small depending on your decal overlay drawing. But that should be more than enough to get you started.
I guess I should also so that you could even adjust the image in photoshop as well when trying to get it the right size in game. That would leave your terrain.hf and decal line the same.
Hopefully that helps. Did this pretty quick. I think its right. If not, someone will be along to tell me what I told you wrong. lol.

-
mxsrider96
- Posts: 3603
- Joined: Mon Sep 10, 2012 12:15 am
- Team: PoGo
- Location: Indiana
Re: Upcoming Tracks and Track Objects #2
That was a lot of information to take in. Thank you!
WAR CRY <3
Sun Burn
-
SMR 510RR
- Posts: 2526
- Joined: Sun Apr 08, 2012 6:36 am
- Team: Privateer
Re: Upcoming Tracks and Track Objects #2
But you need to work backwards from pixel size in the blueprint image to decal size not necessarily the terrain size.barrington314 wrote:I do it with nationals too. But anyways, its pretty easy. Take your scale multiplied by your resolution - 1. so lets say your terrain.hf readsmxsrider96 wrote:Has anyone made a tutorial about how to put a track map on an ortho, like Barrington does with SX? I'd like to be able to put my track drawings down to try it (assuming it's easy)You are only concerned with the first 2 numbers. The first one is the resolution of your terrain.pngCode: Select all
10 0.312500 0.000000 10.000000
9 = 1025
10 = 2049
11= 4097
The second number is the scale.
The math in this case would be 0.3125 x (2049 - 1) = 640 for decal scale.
Next you need the location of the decal. Thats whats in brackets in the decal file.
The math is decal scale divided by 2. In this case 640/2 = 320
Here is what your decal line would look like.This basically just gets you started somewhere. I dont know of any way to get this perfect right off the get go. If someone does PLEASE tell me. lol.Code: Select all
[320.000000 320.000000] 0.000000 640.000000 1.000000 @barringtonsexample/decalfiles/overlay.png
Now go in game and measure something with a gradient that you know the length of.
For supercross I did things a little different than I do for nationals when making the length correct. You can just adjust the decal scale (640) and then divide by 2 again to get the center location again, until you get the correct length that you need. I do this because I want the overall terrain size to stay the same.
For nationals, I dont really have an explanation why, But I would adjust the terrain scale and then redo my decal scale and location to get to the length I need something to measure in game.
This last bit might be slightly confusing. But I promise if you just try, its not that bad to figure out. Sorry I'm drawing a blank to give you examples right now. Every case is going to be different. You could measure too big or too small depending on your decal overlay drawing. But that should be more than enough to get you started.
I guess I should also so that you could even adjust the image in photoshop as well when trying to get it the right size in game. That would leave your terrain.hf and decal line the same.
Hopefully that helps. Did this pretty quick. I think its right. If not, someone will be along to tell me what I told you wrong. lol.
-
aeffertz
- Posts: 4039
- Joined: Sat Sep 06, 2014 7:01 am
- Team: Studio ATE
- Location: Wiscansin
Re: Upcoming Tracks and Track Objects #2
We're getting close! Just need to place some trees and finish the helicopter... Last preview picture, I promise.

I'm super pumped on how the decals turned out. I decided to make some of my own and new norms to go with them and they turned out better than I could've imagined.
I'm super pumped on how the decals turned out. I decided to make some of my own and new norms to go with them and they turned out better than I could've imagined.

-
Wahlamt
- Posts: 7956
- Joined: Mon Sep 13, 2010 3:15 pm
- Team: MLG Compton
- Location: Sweden
- Contact:
Re: Upcoming Tracks and Track Objects #2
Nono, keep 'em coming. They're sexy to look at.aeffertz wrote:Last preview picture, I promise.
Discord: StorkeN#6883 - StorkenMXS Youtube - StorkenMXS Instagram - StorkenMXS Facebook - TMFR on Faceboook

-
Boblob801
- Posts: 3998
- Joined: Mon Nov 16, 2009 4:59 am
- Team: <3 Andy
- Location: New Zealand
- Contact:
Re: Upcoming Tracks and Track Objects #2
I'm 50/50 about the white chalk lounge around the edge of the track. I personally used to do it a lot and like it. Except it doesn't make sense on an outdoor track. I must say I love your off track.
Hi
-
staydown
- Posts: 558
- Joined: Mon Feb 02, 2009 7:53 pm
- Team: Building Tracks Only
- Location: Lehigh Valley, Pa
Re: Upcoming Tracks and Track Objects #2
aeffertz, track is looking good, I love the environment. I agree with Bobbob about the white track outline. I would place some plain uncovered bales on the insides of your turns and also on jump faces and landings. One other suggestion I have, is try using a lighter colored decal on your jump peaks, it might break things up and give the track a more natural look.
-
aeffertz
- Posts: 4039
- Joined: Sat Sep 06, 2014 7:01 am
- Team: Studio ATE
- Location: Wiscansin
Re: Upcoming Tracks and Track Objects #2
Thanks for the feedback.
I'm kinda torn on the outline as well. I like it a lot more now that it's not a solid white but I'll check it out to see what it looks like without it at all. I have some rocks on the inside of turns where it'd be easy to cut but I'm afraid of putting bales on the track due to its width. It's pretty skinny.
Again, I'll try it out though.
-
mxrewind665
- Posts: 2607
- Joined: Sat Feb 12, 2011 4:12 pm
- Team: FlowTech
- Location: New England USA
- Contact:
Re: Upcoming Tracks and Track Objects #2
I personally like the chalk. It's different and gives you some idea of out off track. For bales try on the inside some of the big bales like on unadilla. And some hay style bales on some landings. Would look odd covered in bales like a race day.

-
mxsrider96
- Posts: 3603
- Joined: Mon Sep 10, 2012 12:15 am
- Team: PoGo
- Location: Indiana
Re: Upcoming Tracks and Track Objects #2
Project #2 has started (and will be ready to be laid down in game by tonight)
WAR CRY <3
Sun Burn
-
mxsrider96
- Posts: 3603
- Joined: Mon Sep 10, 2012 12:15 am
- Team: PoGo
- Location: Indiana
Re: Upcoming Tracks and Track Objects #2
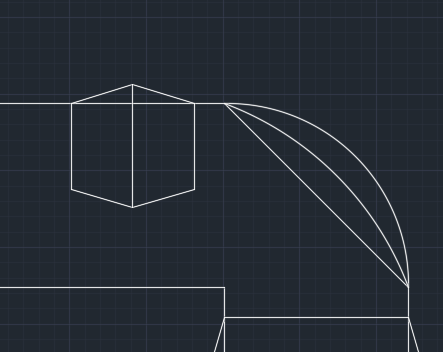
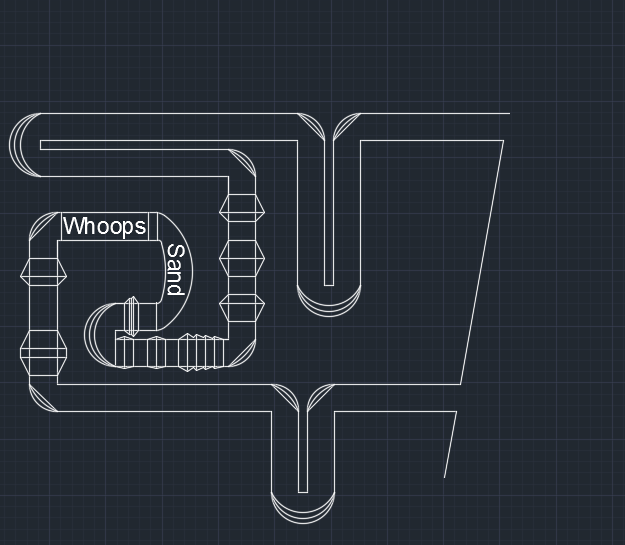
Anybody know CAD? Got any ideas for how to draw a good looking inside rut?
WAR CRY <3
Sun Burn
-
mxsrider96
- Posts: 3603
- Joined: Mon Sep 10, 2012 12:15 am
- Team: PoGo
- Location: Indiana
Re: Upcoming Tracks and Track Objects #2
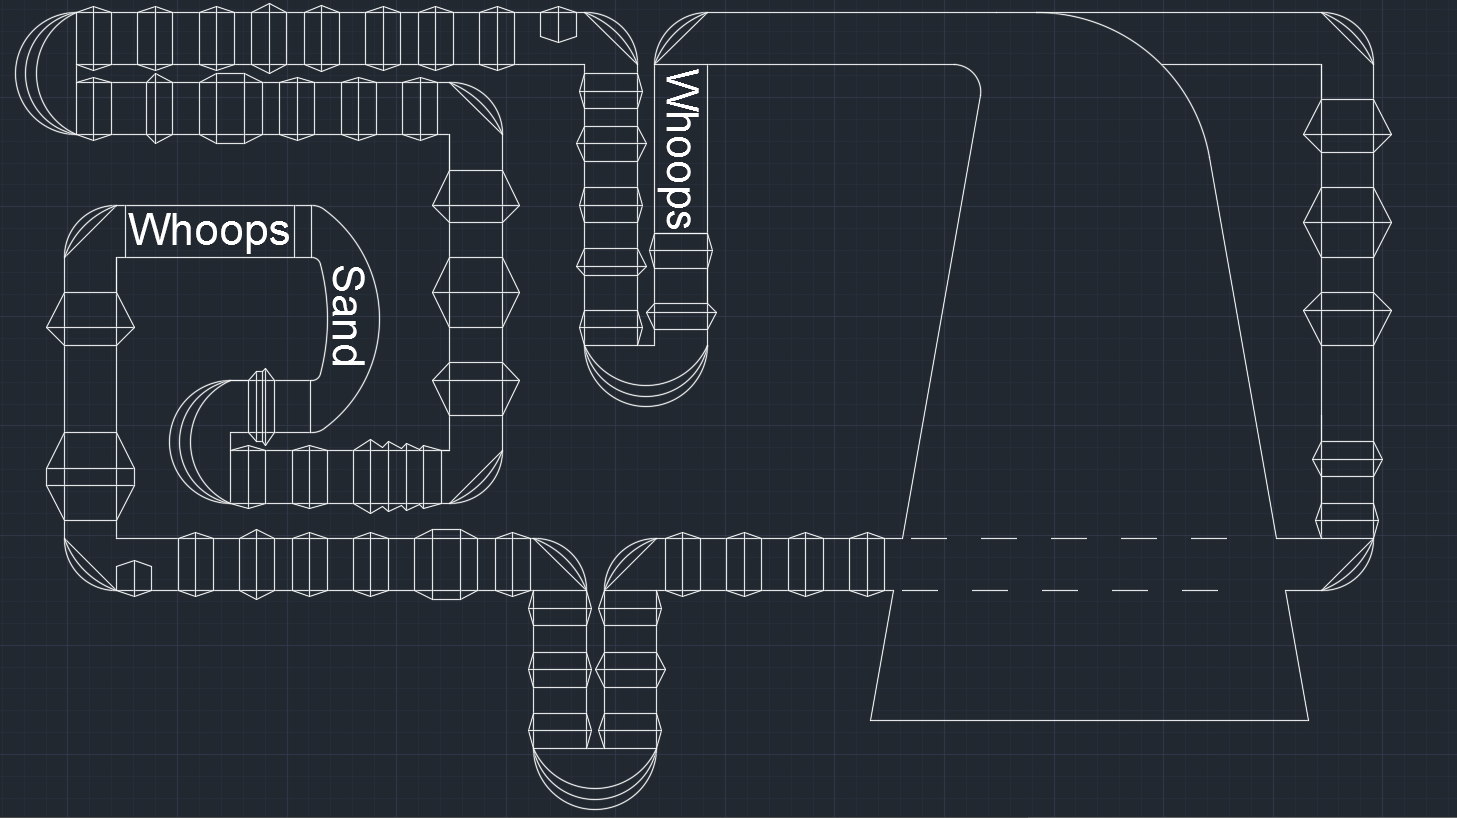
Triple post FTW. Other than the missing inside ruts (which don't have to be drawn, I'd just prefer to see them) she's ready
WAR CRY <3
Sun Burn
-
mxsrider96
- Posts: 3603
- Joined: Mon Sep 10, 2012 12:15 am
- Team: PoGo
- Location: Indiana
Re: Upcoming Tracks and Track Objects #2
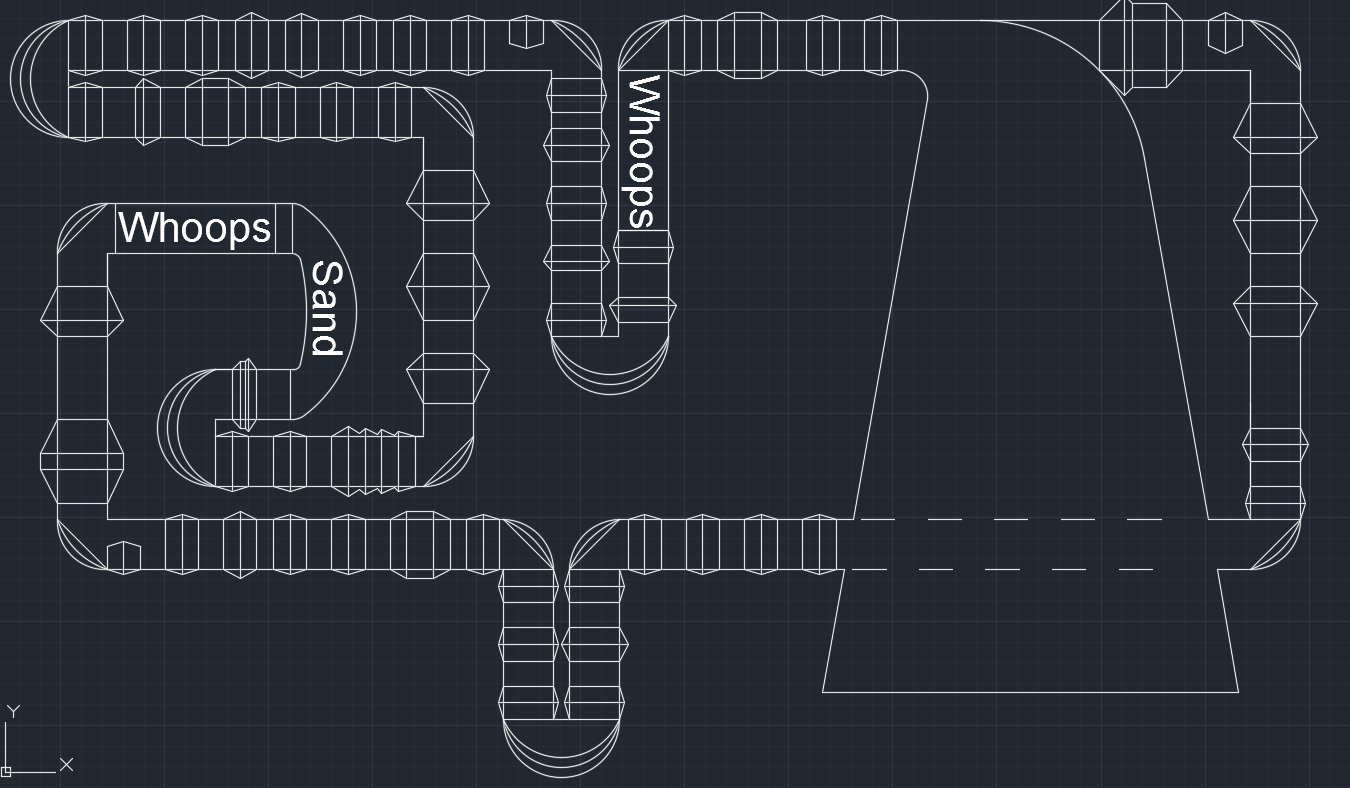
Forgot about the first section and the section heading into it
WAR CRY <3
Sun Burn